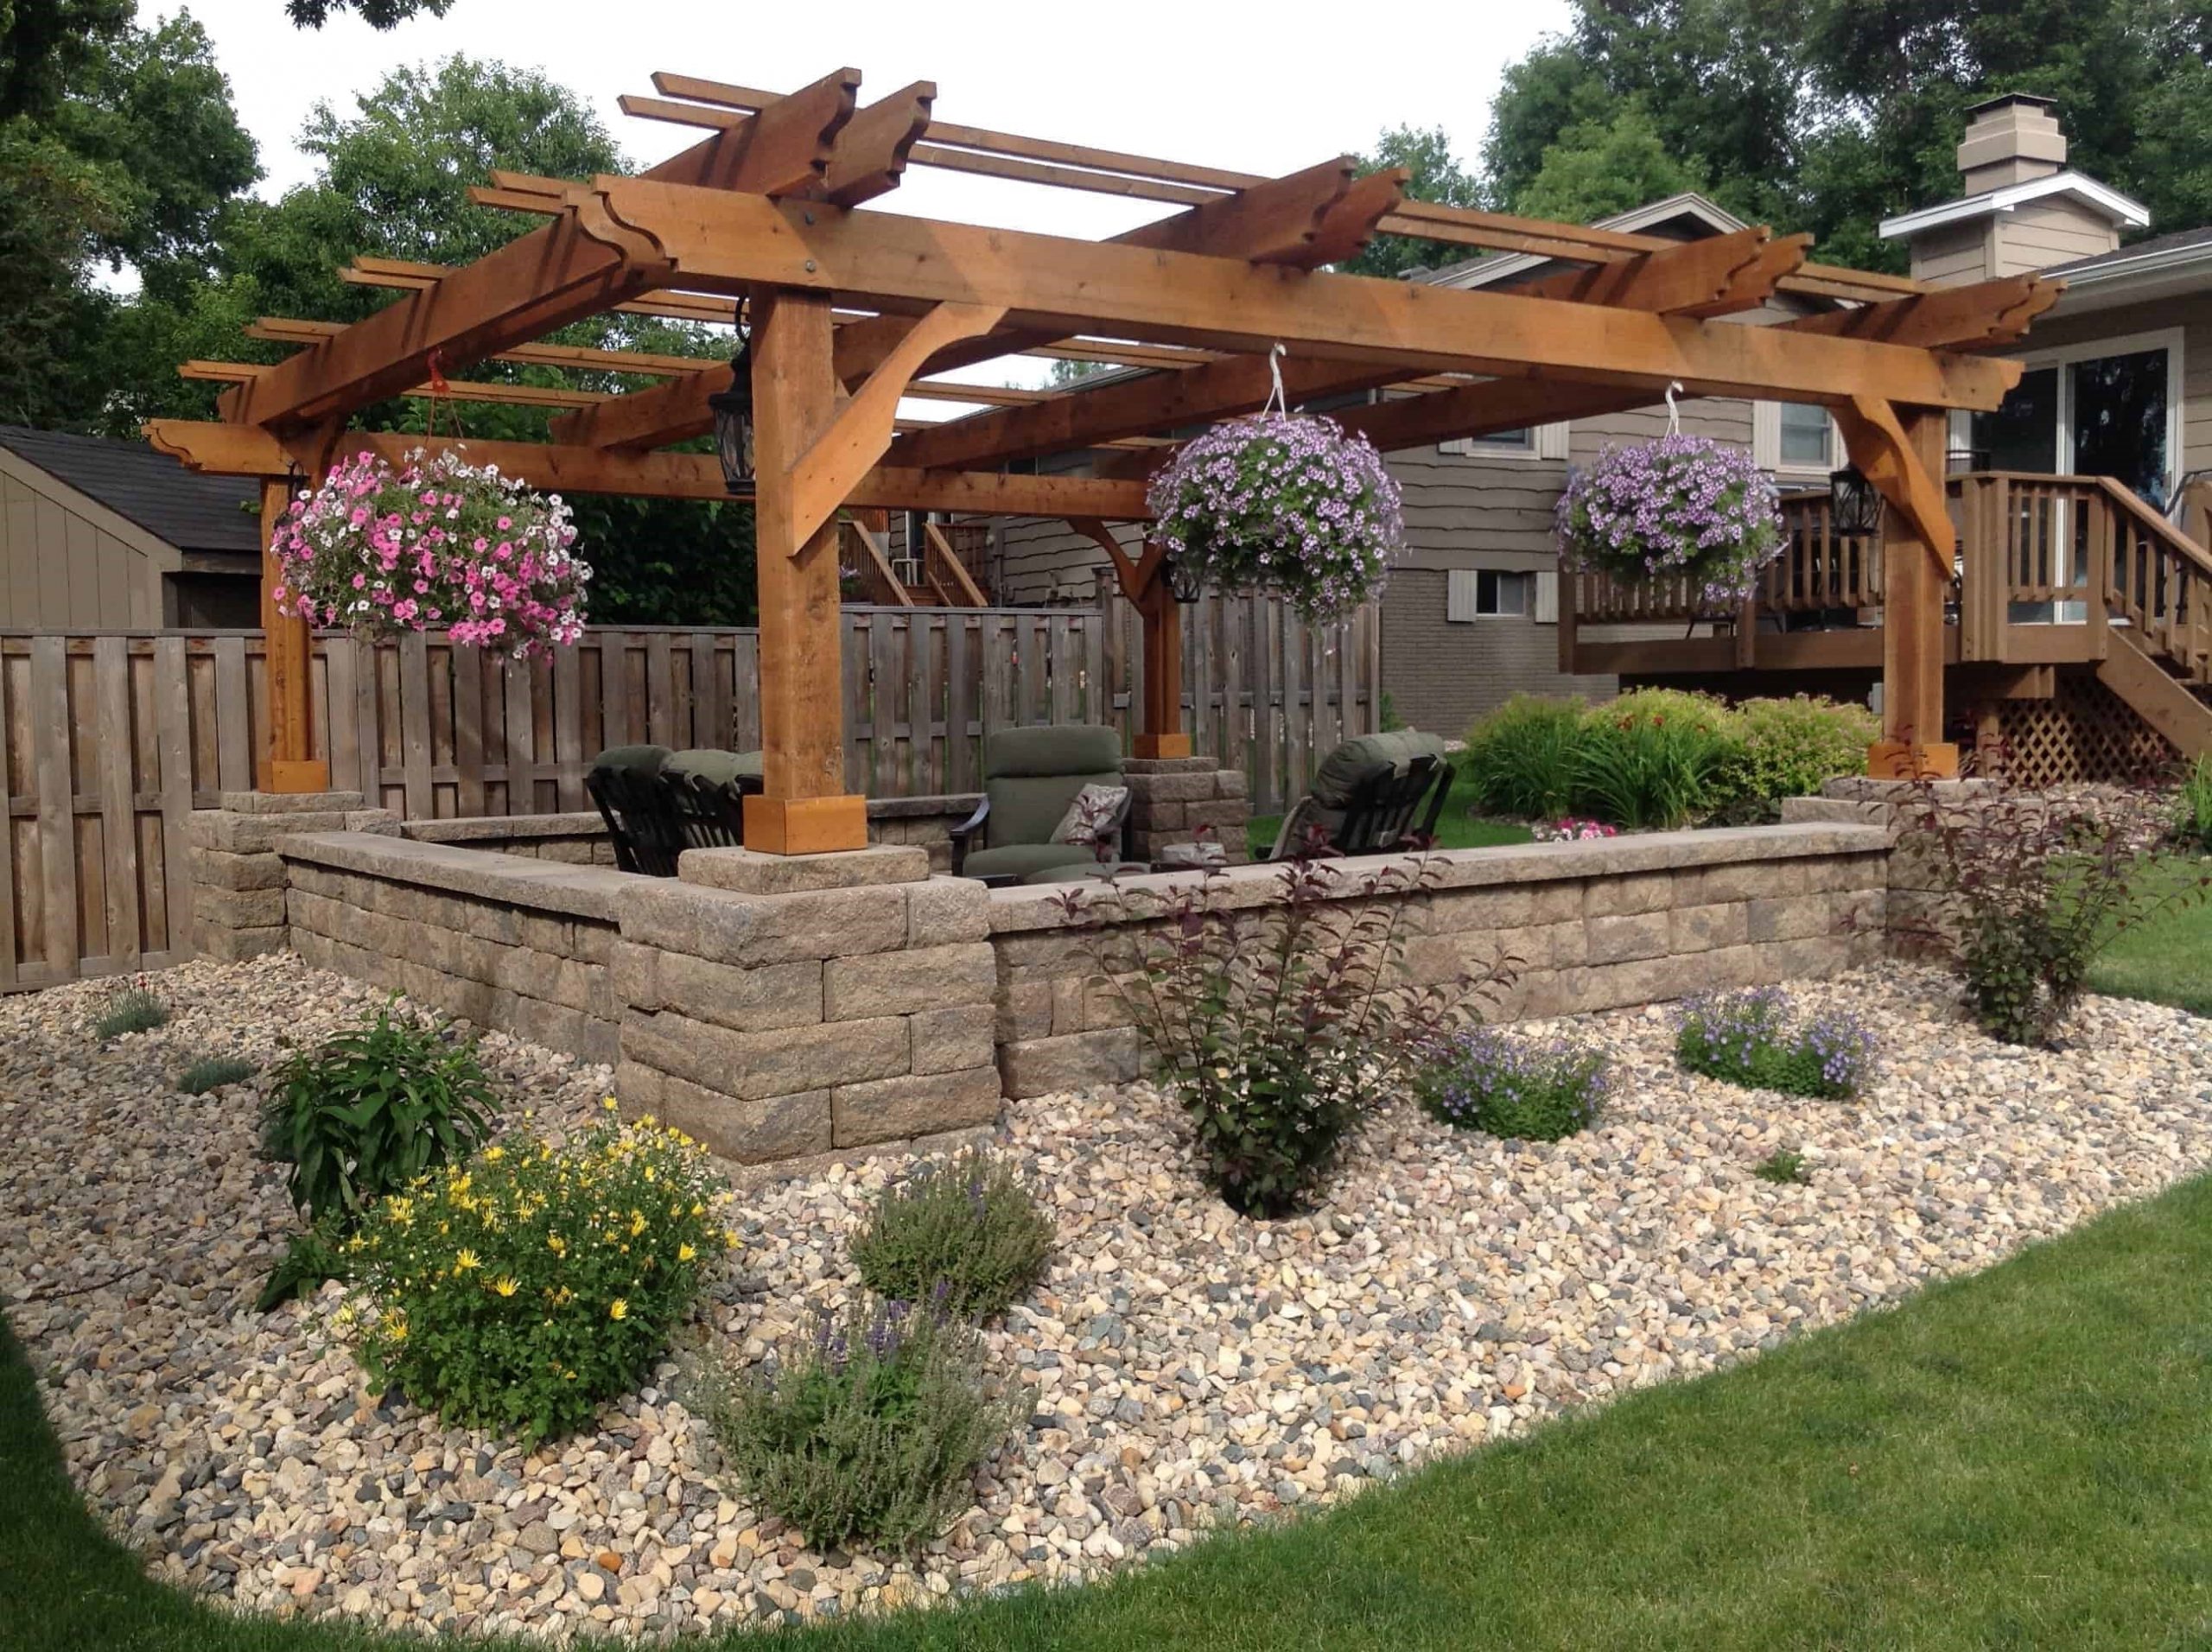
Pergolas are an amazing outdoor structure that you can have in your home’s backyard. You can rest and unwind at this place. This spot can be ideal for individuals who like to throw parties, host events and whatnot. You can put patio furniture under this and have a space where you can chill after a hectic day.
If you are thinking of getting a pergola in your backyard, then you are at the right place. You will get to know about how the pergolas are built and installed. Keep reading this blog!
A Little About Pergolas
Both open and covered pergolas give you a beautiful setting for backyard barbecues, fire pits, hot tubs and more. Pergolas are ideal for climbing plants, creating an area of dappled sunlight, which is ideal for relaxing and entertaining.
Pergolas can be as shady as you like by adding plants and creepers or topping them off with a piece of fabric. The four corners of the pergola can be anchored with the planter boxes.
Read about the items that are used while preparing, building and installing a pergola. Check them below:
Equipment And Materials Used:
Equipment/Tools:
- Tape measure
- Polyurethane Glue
- Post Hole digger
- Carpenters level
- Shovel
- Backsaw
- Miter saw
- Circular saw
- Clamps
- Drill
- Saber saw
- Chisel
- Hammer
Materials:
- Wood
- Concrete Mix
- Deck Screws
- Bolts
- Gravel
Starting Off With The Pergola Design and Digging Holes For Posts:
First things first, plan the area to sink posts at least 3 feet into the ground for a freestanding backyard pergola. For instance, an 8-foot-tall pergola has to be at least 11 feet long. If it’s possible, then some of the posts have to be bolted onto the existing decking posts or similar strong structural components.
Using a post hole digger or an auger, we can dig the post holes at least 30 inches deep or to the depth required by local codes. Shoveling several inches of gravel into the bottom of each hole and inserting the posts. However, these will be cut as compared to the height later.
Setting Pergola Posts:
Whenever setting up the pergola posts, first, we have to brace the pergola posts temporarily so they are plumb. After this, we use 3 to 4-foot 2x4s or 2x6s at the bottom and then 1×4 or 2×4 angle braces, which will be anchored to stakes.
Getting these posts both plumb and placed at the correct depth might require some shifting. However, it won’t be readily visible if you are an inch or so away.
Combine water and concrete mix to fill up the postholes. Use a stout stick to work the mix-up and down to remove all air pockets. Overfill each hole so the rainwater never gets inside and runs away from the post.
If the building site allows for anchoring the post to an existing structure, then bolts will be used to do it. It will take time to make sure that the pergola posts are perfectly plumb.
Cutting And Installing Roof Beams:
For a basic garden pergola, the frame that will be supporting the pergola roof will have doubled 2×10 beams. These beams will create a solid structure that will support the notched rafter pieces.
Before installing the beams, we have to cut the posts. Mark the cut-off lines on the posts. And make sure to account for the 2×10 beams before finalising the height of the posts. A reciprocating saw would do the job.
After this, we have to measure the distance between the posts at the top and the mitre-cut 2x10s for the outer beam pieces.
Place each beam piece so it can easily align with the top of each post, and then attach them by driving three 3-inch deck screws into every joint. Now, measure and cut the inside beam pieces. Laminate them to the outside beams. You can use polyurethane glue and 1 – ¼ -inch deck screws which are driven every foot.
Determining Roof Design:
A basic pergola roof has notched 2×10 lower rafters set perpendicular to the upper rafters. Most of the time, the lower rafters are 2 to 3 ft. longer than the harbour width, and the uppers are 2 or 3 ft. longer than their length.
These rafters have decorative ends. They develop a pattern for your rafter, which ends up using a freehand drawing or using a purchased or borrowed pergola plan. The design can be as simple or complex as the way you want.
Speaking of designs, you can get wooden pergolas or wooden gazebos in the UK from Your Extra Space.
Adding-On:
On the top of the lower rafters, you have to cut a notch for the upper rafters to fit into. Cut the notches on the bottom of the upper rafters for other lower rafters. Place all the rafters’ notches at an equal distance apart.
Then, cut the notches with a circular saw and use a sabre saw for it. Corners have to be cleaned out using a hand saw and chisel. After this, we have to check if the notched rafters fit tightly together or not.
Raising The Roof:
The next step is raising the roof. You have to notch the rafters. For the lower rafters, notch the bottom of every end so the rafters can easily fit over the beams. However, notches have to be 3×2 inches.
Adding Finishing Touches:
If the pergola is wobbling, then you can stabilise it using the angled braces. You can apply two or more coats of stain, finish or paint it the way you like. This will go on for a long time.
Final Thoughts:
We hope that you know about the step-by-step building and installation of the pergola projects that we can pull off in the backyard of your home. You can learn about what items and stuff we will be using for the projects and bring your dream pergola to life!